Here is what you need:
Tri-fold display board (48 by 36 inches; makes 2 stations)
Yardstick and pencil
Craft knife (I used scissors)
Con-Tact paper or paint (optional)
1. Cut the board in half horizontally. Set one half aside if you plan to make just one. Lay the other half face down. To make it easy to fold even when stocked with hanging supplies, pencil a vertical line parallel to each existing fold, 2 inches closer to the center. Using the yardstick as a guide, score the lines, cutting through only the top layer of the card board.


2. Fold along the scored lines. Cover the back with Con-Tact paper or paint, if desired.
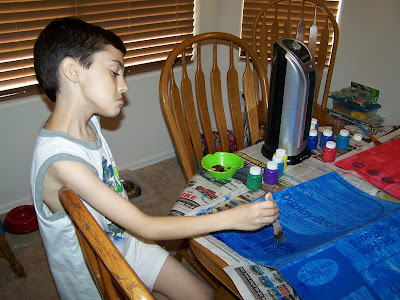
(I let the kids decorate with paint how ever they wanted.)


Add the supplies:
Use glue dots to affix clothespins to one side for holding important papers and notes. (I used super glue.)
Adhere magnets with hot glue (or super glue) to scissors, the back of a stapler, and other frequently used supplies. Line them up along a ruler/magnet strip, with more magnets and a magnetic clip.
Use adhesive-backed Velcro dots to attach supplies that need to be easily removed: the ruler/magnet strip, a clock, a calculator, a sticky-note dispenser, and a pencil box.
Hang a zip-close binder pouch from an adhesive hook to hold small supplies.
Affix a small cork square for displaying photos or notes, using hot glue or adhesive supplied with the square.
I used a strip of magnet from the craft store and it doesn't hold the scissors, pencil sharpener or stapler. I will have to find a better solution! I also could not find a pencil box, I just put everything in the binder pouch. I used a magnetic dry erase board instead of the cork square. I think it really turned out great!! Here are pictures of the kids working on their stations and the final product.

Mr. A's homework station

Miss E's homework station


